meta data for this page
- en
Design Detail & Artwork
View additional options for:
Overview
Editing or Adding Design Detail
Each print location on the order has its own Design Detail Information section.
- You can capture detail at any stage (Quotation, Work Order or Invoice), of the sales cycle.
- Once you save an order you will see a hyperlink at the left of your “Design” row, which reads:
Add Detail
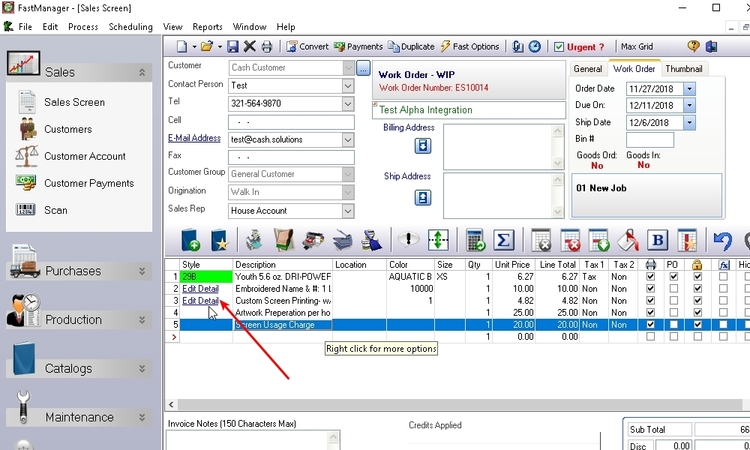
Add Detail hyperlink will only appear after you have added an embellishment charge and you have saved the order.
The design detail information will print out on the following reports:
- Art Approval (seperate art approval form for each imprint location)
- Work Order Design Detail (new page for every job that is seperated by a “seperator line')
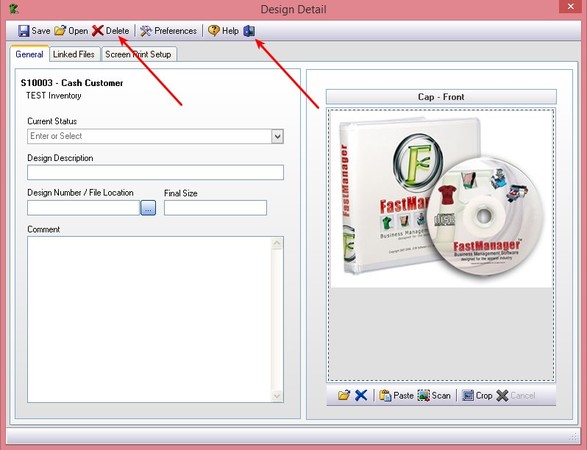
Click on Add Detail
- FastManager will pop-up the
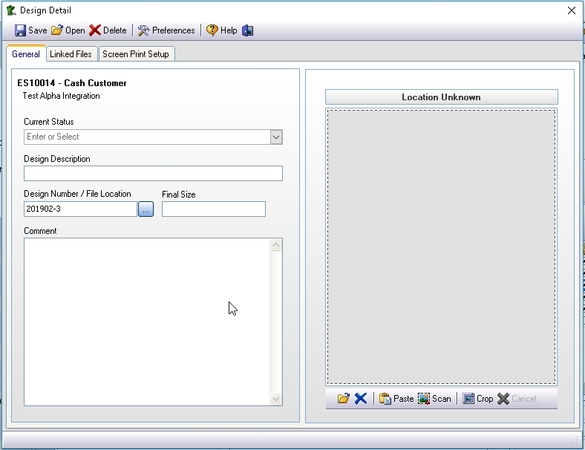
Design Detailscreen where you can record the design detail information for that embellishment location.
Pictures Folder location is not already setup, you will be prompted with a popup which will allow you to tell FastManager where you want it to create the thumbnail pictures.See Picture Folders to find out more.
- Select the current status for the artwork (Note: this list can be edited.See Basic Setup -> Lists
- Enter a description for this design
- Optionally, enter a unique design number.
- You can also have FastManager auto-allocate a design number for you
- You can also enter the final size of the imprint
- As well as any comments or notes that are relevant to this imprint location
Search For Designs
You can click on Open to search for a previous design which will copy all the previous design detail to this screen.
Thumbnails
You can add a thumbnail picture to the design.
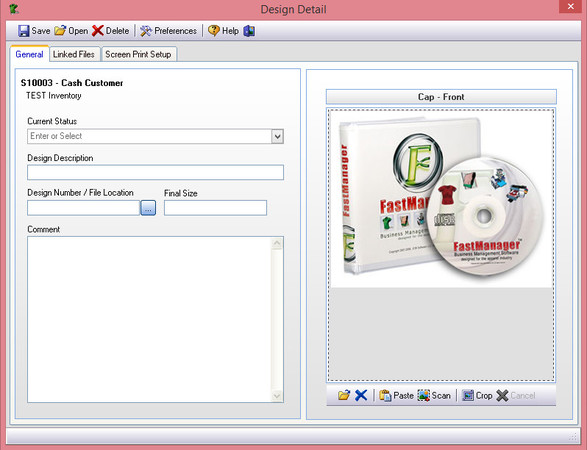
- You can open any standard picture file. FastManager will automatically resize the file and save it as a copy to your pictures folder.
- At this point in time you cannot open vector or digitized art in FastManager.
This works well as you cannot open a digitizing file you can simply make a screen shot of your work in your digitizing program and paste it into FastManager.
The purpose of the thumbnail picture is to avoid confusion: which design goes on the back vs the front. All thumbnails will print on the design detail reports.
- FastManager can also use the thumbnail to print a very basic customer proof which your customer can sign off on.
- To add a thumbnail picture click on the
Openbutton below the picture box.- Browse to the file that you want to add and click Open.
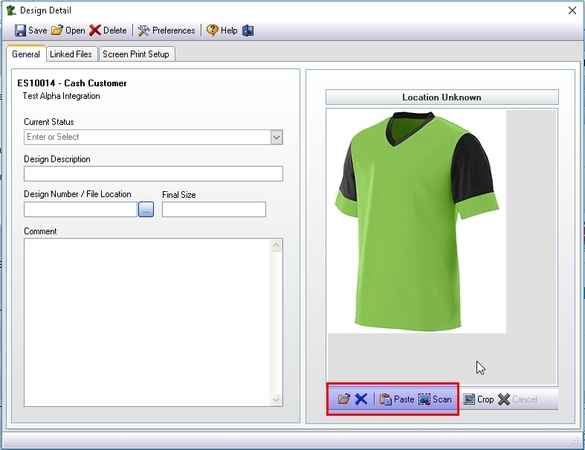
- To remove the thumbnail click on the Delete Button below the picture box.
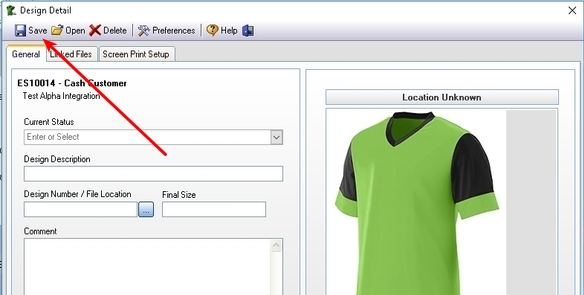
Remember to click on the Save button at the top of this screen before you close it.
Setup Details
The Setup tab is where you can enter more detailed information related to the design.
Screen Print, Embroidery or other type of embellishment.It will only ask for information appropriate to the design type.
For example: You cannot enter mesh count and ink colors in an embroidery type design
- Here is an example of Screen Printing with ink and background colors:
- Here is an example of Embroidery with thread color & type:
To add add a new line item simply select or enter the information in the bottom row which will automatically add a new row below.
- You can also change the order or sequence of each row by dragging the rows.
- To drag a row hold your mouse button down on the
row numberand drag it to another position.
You can edit the content of the drop down lists such as ink and thread colors at: Edit -> Lists
Linked Files
FastManager is unable to display file types other than “Image” files in the thumbnail area. However, you can link your artwork (or any other) files on the Linked Files tab of the Design Detail area
Linking artwork or other files is just an easy way to find (and open) the final artwork file for this job.
If you move your artwork to another computer then FastManager will no longer know where that file resides.
Then link to the files at that location, this will make sharing linked files between users a cinch!
Once you have linked the art file you can click on the Open button which will launch the default application that is associated with that file in windows.
- For example if you have a
.cdrfile then Windows will automatically open CorelDRAW. It is exactly the same as double clicking on the file from windows explorer.
To add a new file to the list click on Add
- To remove an entry from the list click on
Remove - To open the file in its default application click on
Open - To locate the file using Windows File Explorer, click on
Locate
Viewing Thumbnails On The Sales Screen
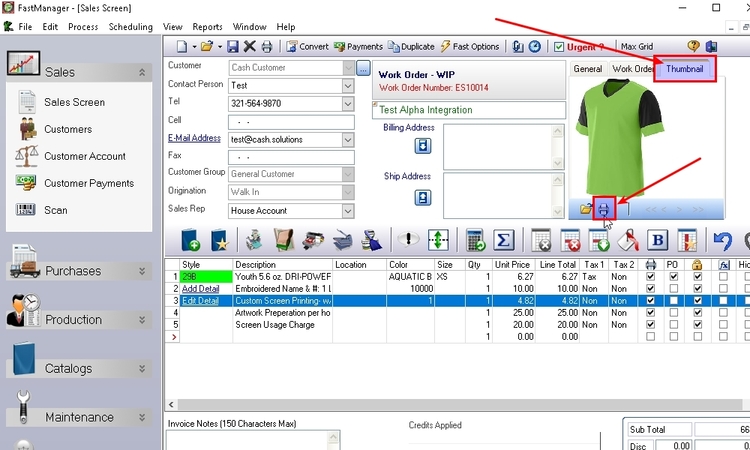
You can view the thumbnails you have added directly from the Sales Screen.
- In the
Sales Screen, click on theThumbnailtab at the upper-right.
You can click on the Next » and Back « buttons to navigate between your various designs.
- You can click on the
Openbutton to open the Design Detail screen from here.- This is the same as opening the design when you click on the
Edit Detailhyperlink in the order detail section.
Printing Customer Proofs
You can print a very basic customer proof from the thumbnail preview tab in the sales screen.
- Simply browse to the design you want by click on the Next
»or Back«buttons.- Click on the
Printicon to print a customer proof
Print Work Order Detail
There are 3 different reports that you can print that will show the design detail:
- Work Order Detail - Portrait
- Work Order Detail - Landscape
- Work Order Design Detail
You can print these reports directly from the Sales Screen, as well as the Job Board or Tasks screen.
- Below is an example of the
WO Design Detailreport. Which not only shows you the thumbnail picture and production detail but also which garments they are printed on.

For more information, see: Print & Email
Deleting A Design
To delete a design, click on Edit Detail to open the Design Detail window,
- click on
Delete, then exit the design detail window. Don't save, just exit.