meta data for this page
- en
E-mail setup
You can E-Mail quotations, sales orders, invoices, customer proofs and many other documents directly from FastManager.
- Before you can do that, you need to create your outgoing E-Mail accounts.
- You can create an unlimited number of outgoing E-Mail accounts, this way you can send documents from various people.
- For example you can create an account to send invoices from your accounting department and you can create an account to send quotations from sales.
- Creating these accounts are very similar to any other E-Mail program.
Basic Setup
In FastManager, go to Edit -> E-Mail Accounts (it's the very last option on the Edit drop-down menu):
To edit an existing account, first click on the Open button to view a list of the available accounts, then double-click on the one you want to edit.
- You can also delete any account from this list by selecting it and clicking on the Delete button (the red
X)
To create a new account click on the New button.

You will need to obtain the following information:
| Required Info | Example |
|---|---|
| The email address you want to send from | myname@mydomain.com |
| The outgoing (SMTP) server address | smtp.mydomain.com |
| The encryption protocol to use | SSL or TLS or None |
| The port number to use | 465 or 587 or 25 |
| The SMTP username | myname@mydomain.com |
| The SMTP password | My5up3r53cr3t |
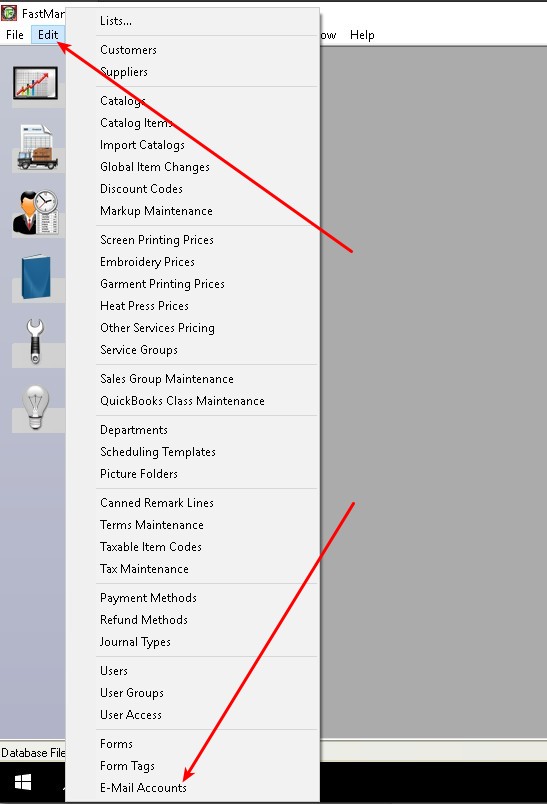
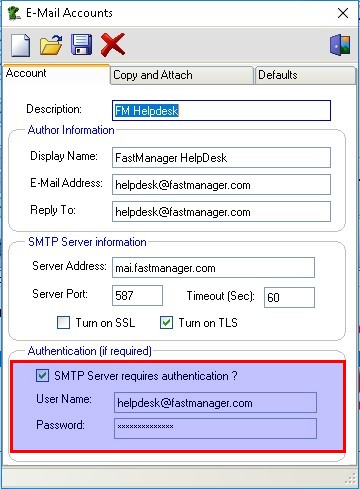
Enter the following information:
- a user friendly description. This can be anything that will enable you to identify the account when you need to select which account you are sending from.
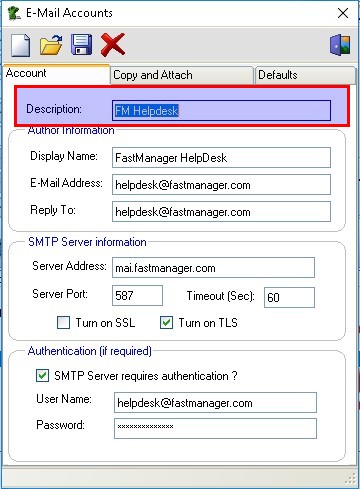
- the Author Information. This would be the display name, which is what your customer will see when he receives the E-Mail,
- the E-Mail address that you are sending it from as well as the address you want your customer to reply to.
- the outgoing
SMTP Serverinformation. (You can get this information from your ISP or Hosting company.)
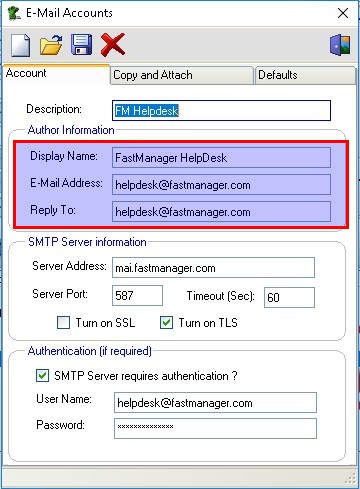
SMTP server & port settings from that setup
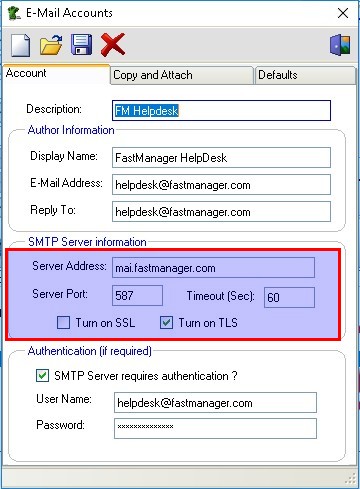
Confirm if your SMTP server requires authentication (it probably does) and what the user name and password will be:
GMAIL
Office365
PLEASE SEE: O365
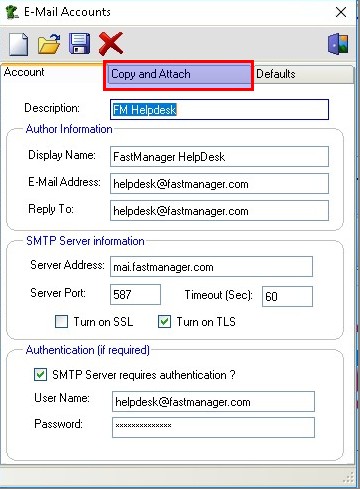
FastManager does not keep record of any E-Mails you send. You can however blind copy yourself (or anyone) on every E-Mail.
- this way you will have a copy of every E-Mail in your favorite E-Mail application.
- Click on the
Copy and Attachtab at the top of the screen.
You can add as many addresses as you want in the BCC section. Simply click on the Add button to add another address.
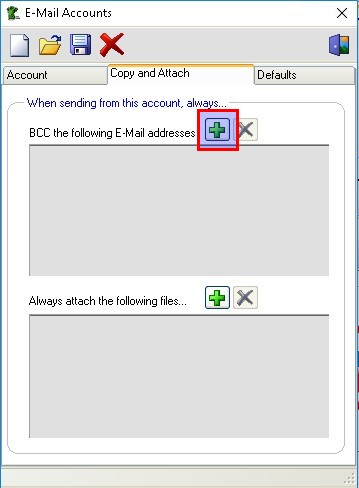
To delete an E-Mail address from the list, select the address you want to delete and click on the Delete button.
You can also have FastManager automatically attach any files by default.
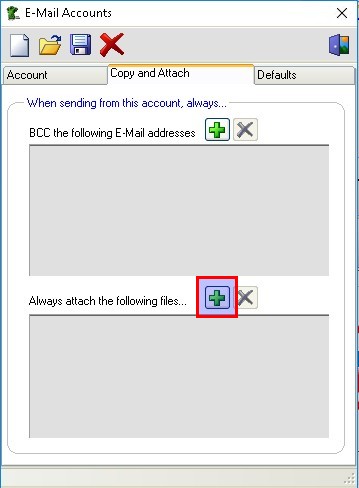
For example, if I'm going to send quotations from my Sales account I would by default want to attach our company's terms and conditions to the E-Mail.
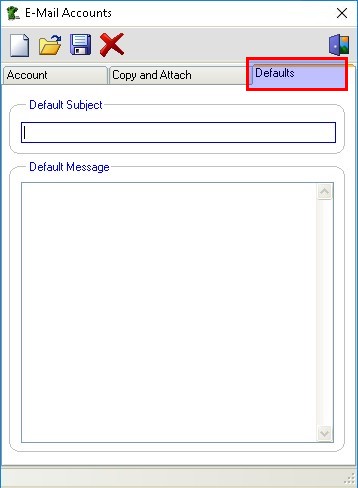
Email Defaults
You can also setup a default signature and and subject when selecting the account.
- Click on the
DefaultsTab:
Once you are ready, click on the Save button to commit your changes.
Now you will be able to select this email account to send from, and you may allocate it to a particular user or rep.
Troubleshooting
That error message can only be caused by a problem with the email account settings as described above.
Please double-check all the details in your email account/s.
If it is a Gmail account, please double-check that you have followed all the instructions in: Gmail Account Setup
If it is an Office-365 account, please double-check that you have followed all the instructions in: Office-365 Account Setup